Hack, did you say Hack?
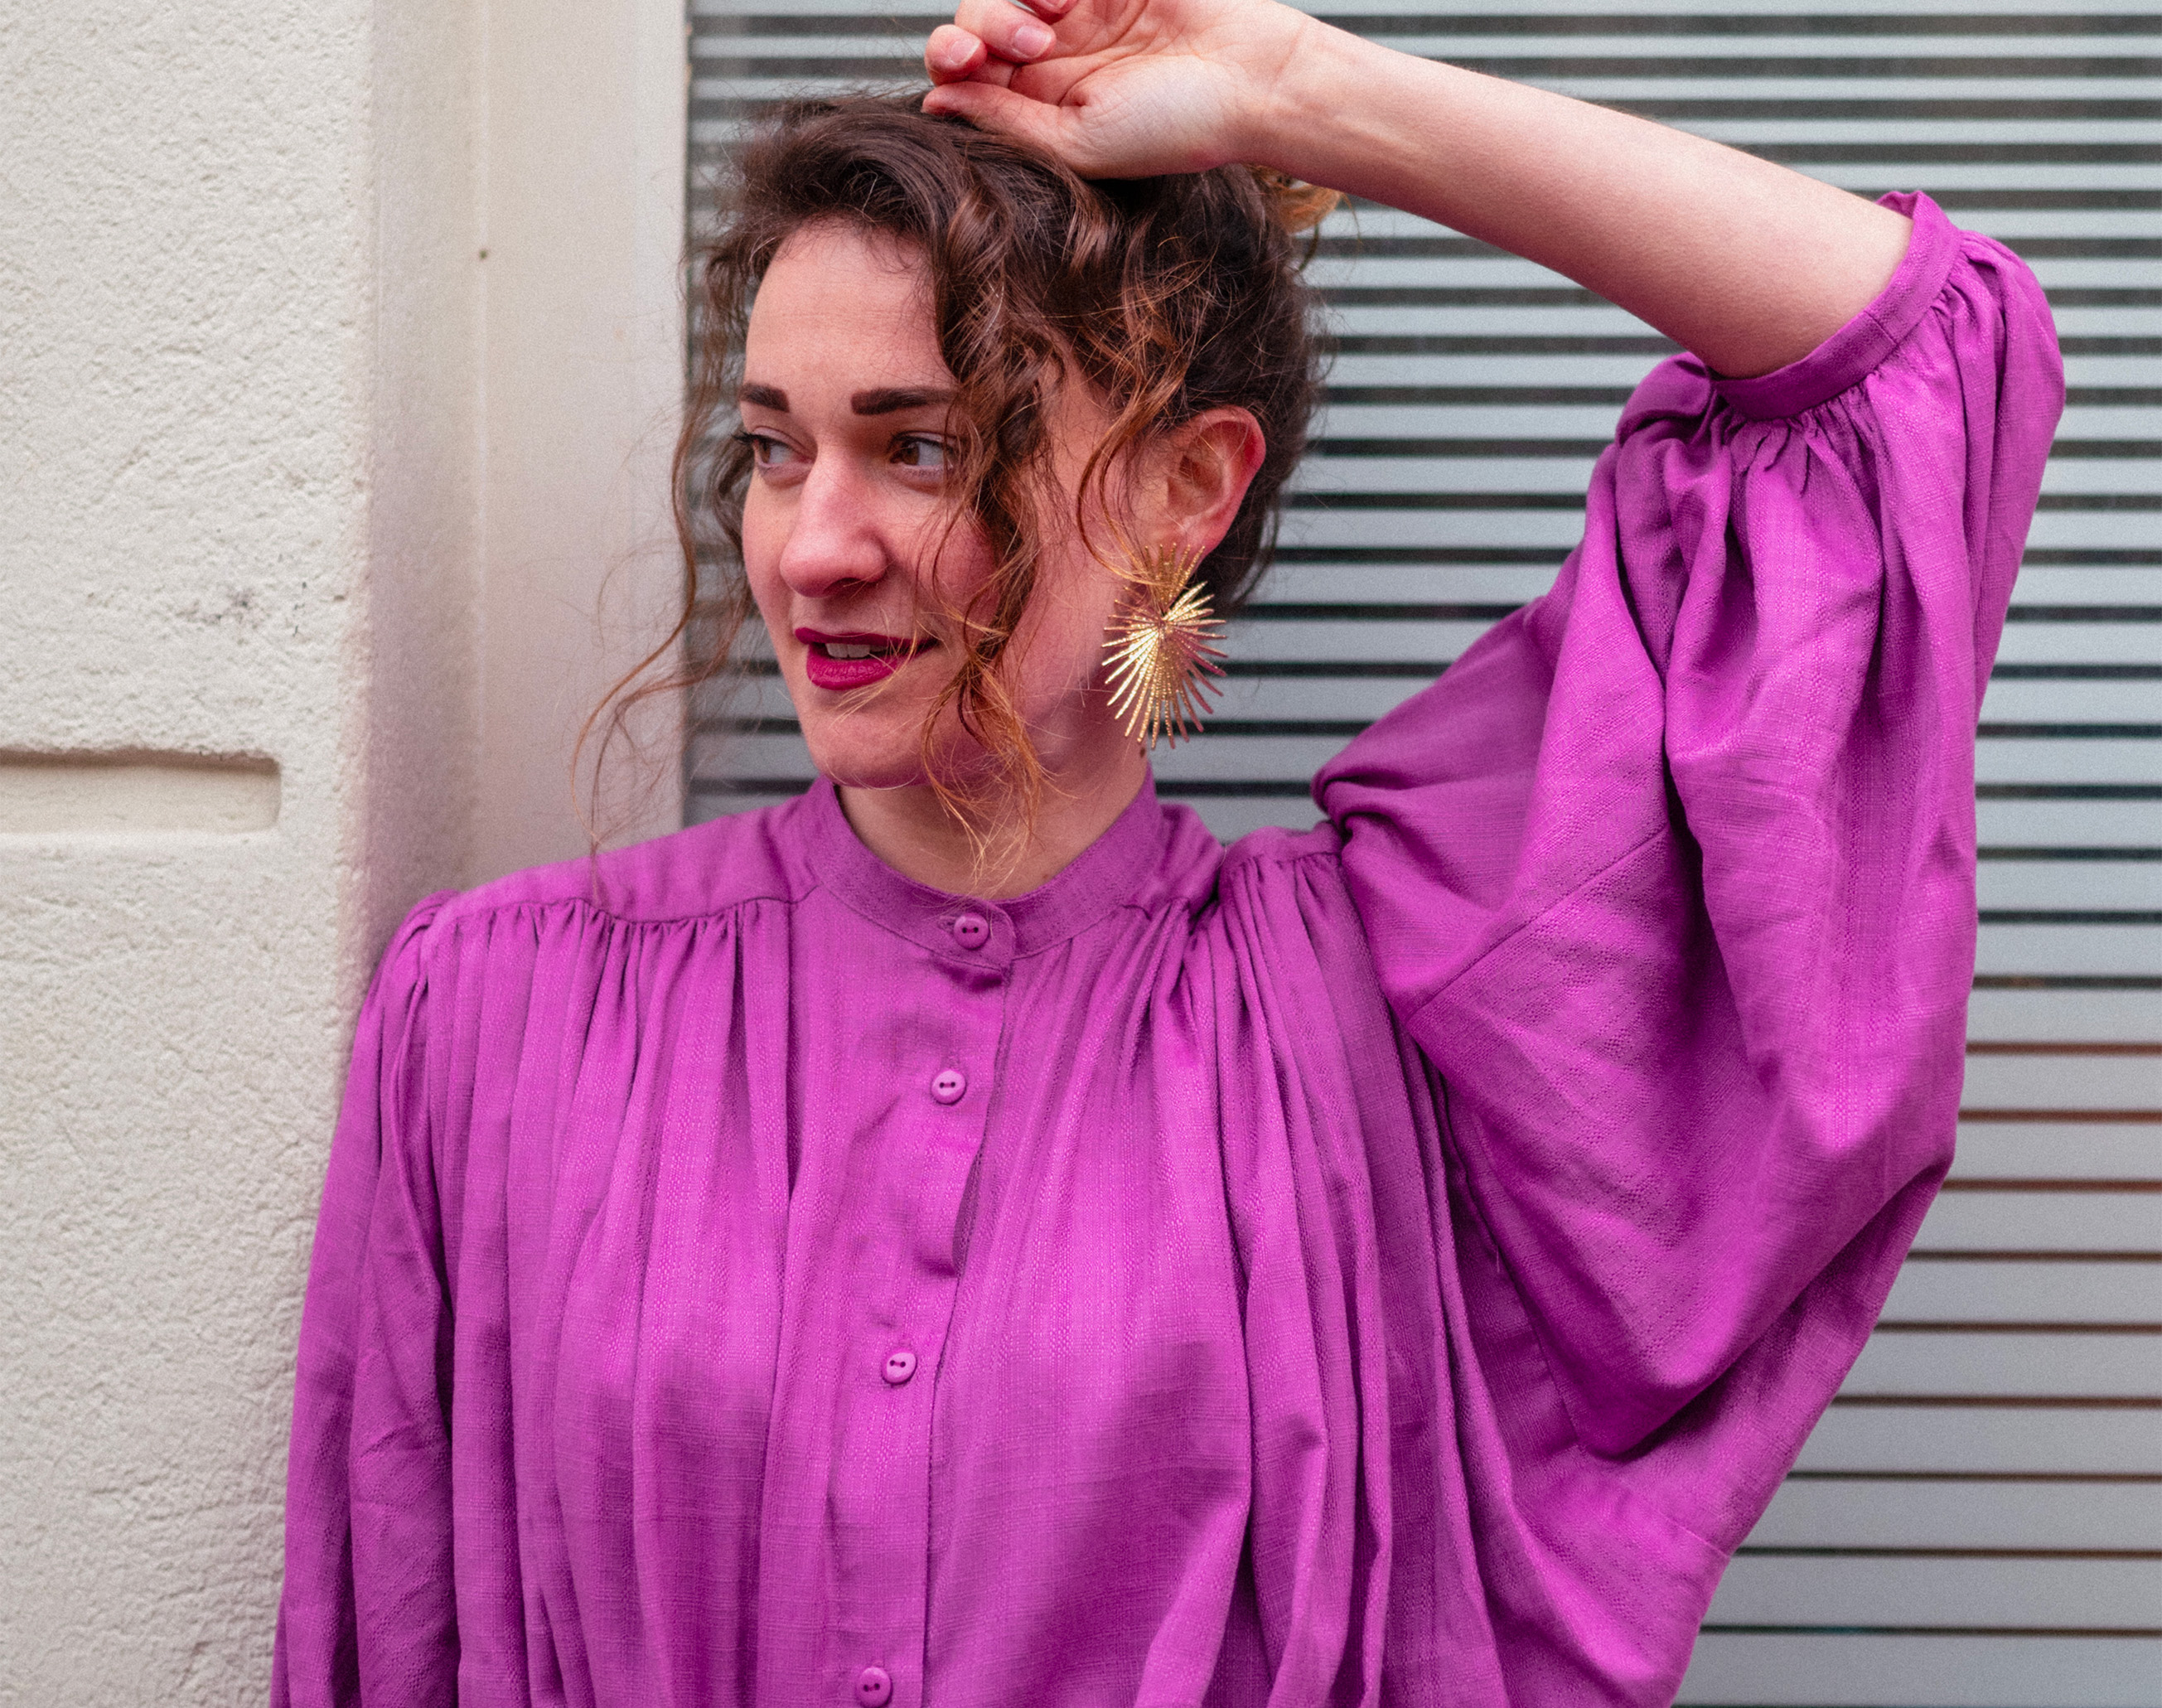
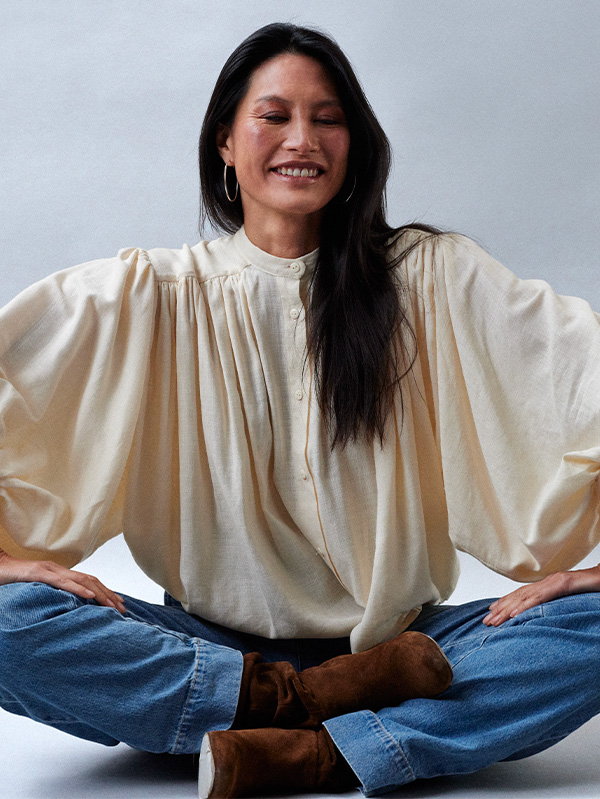
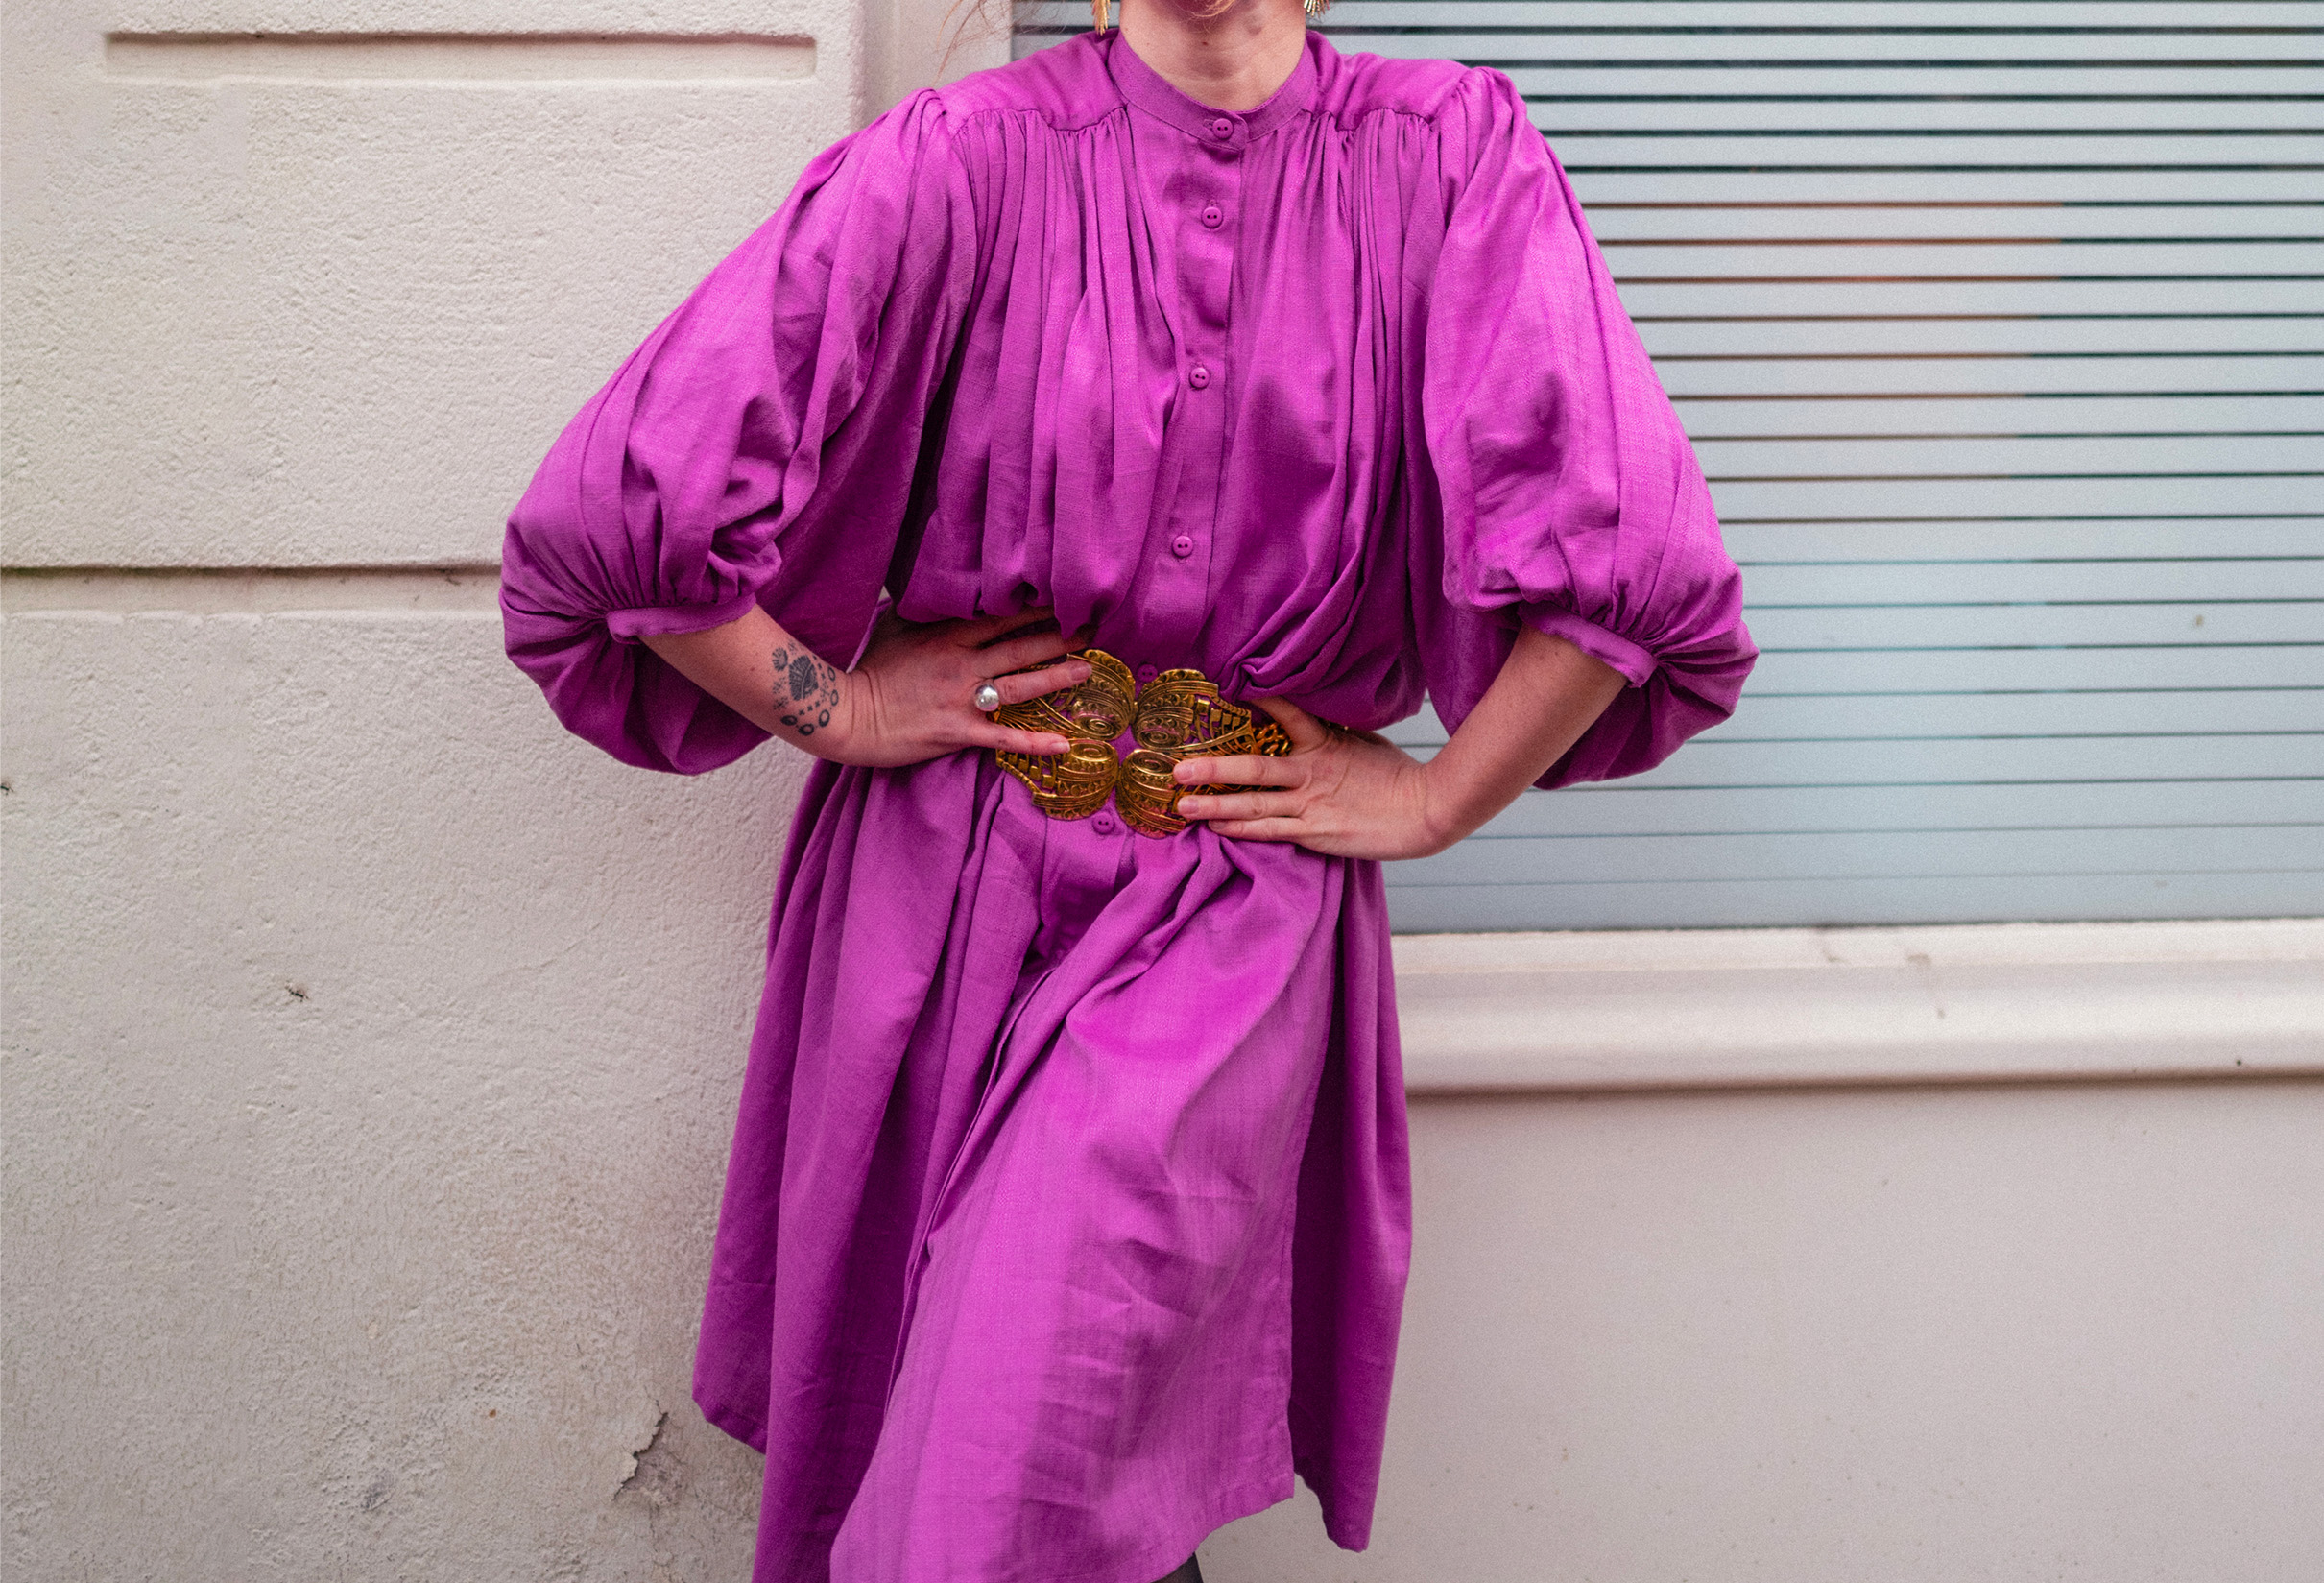
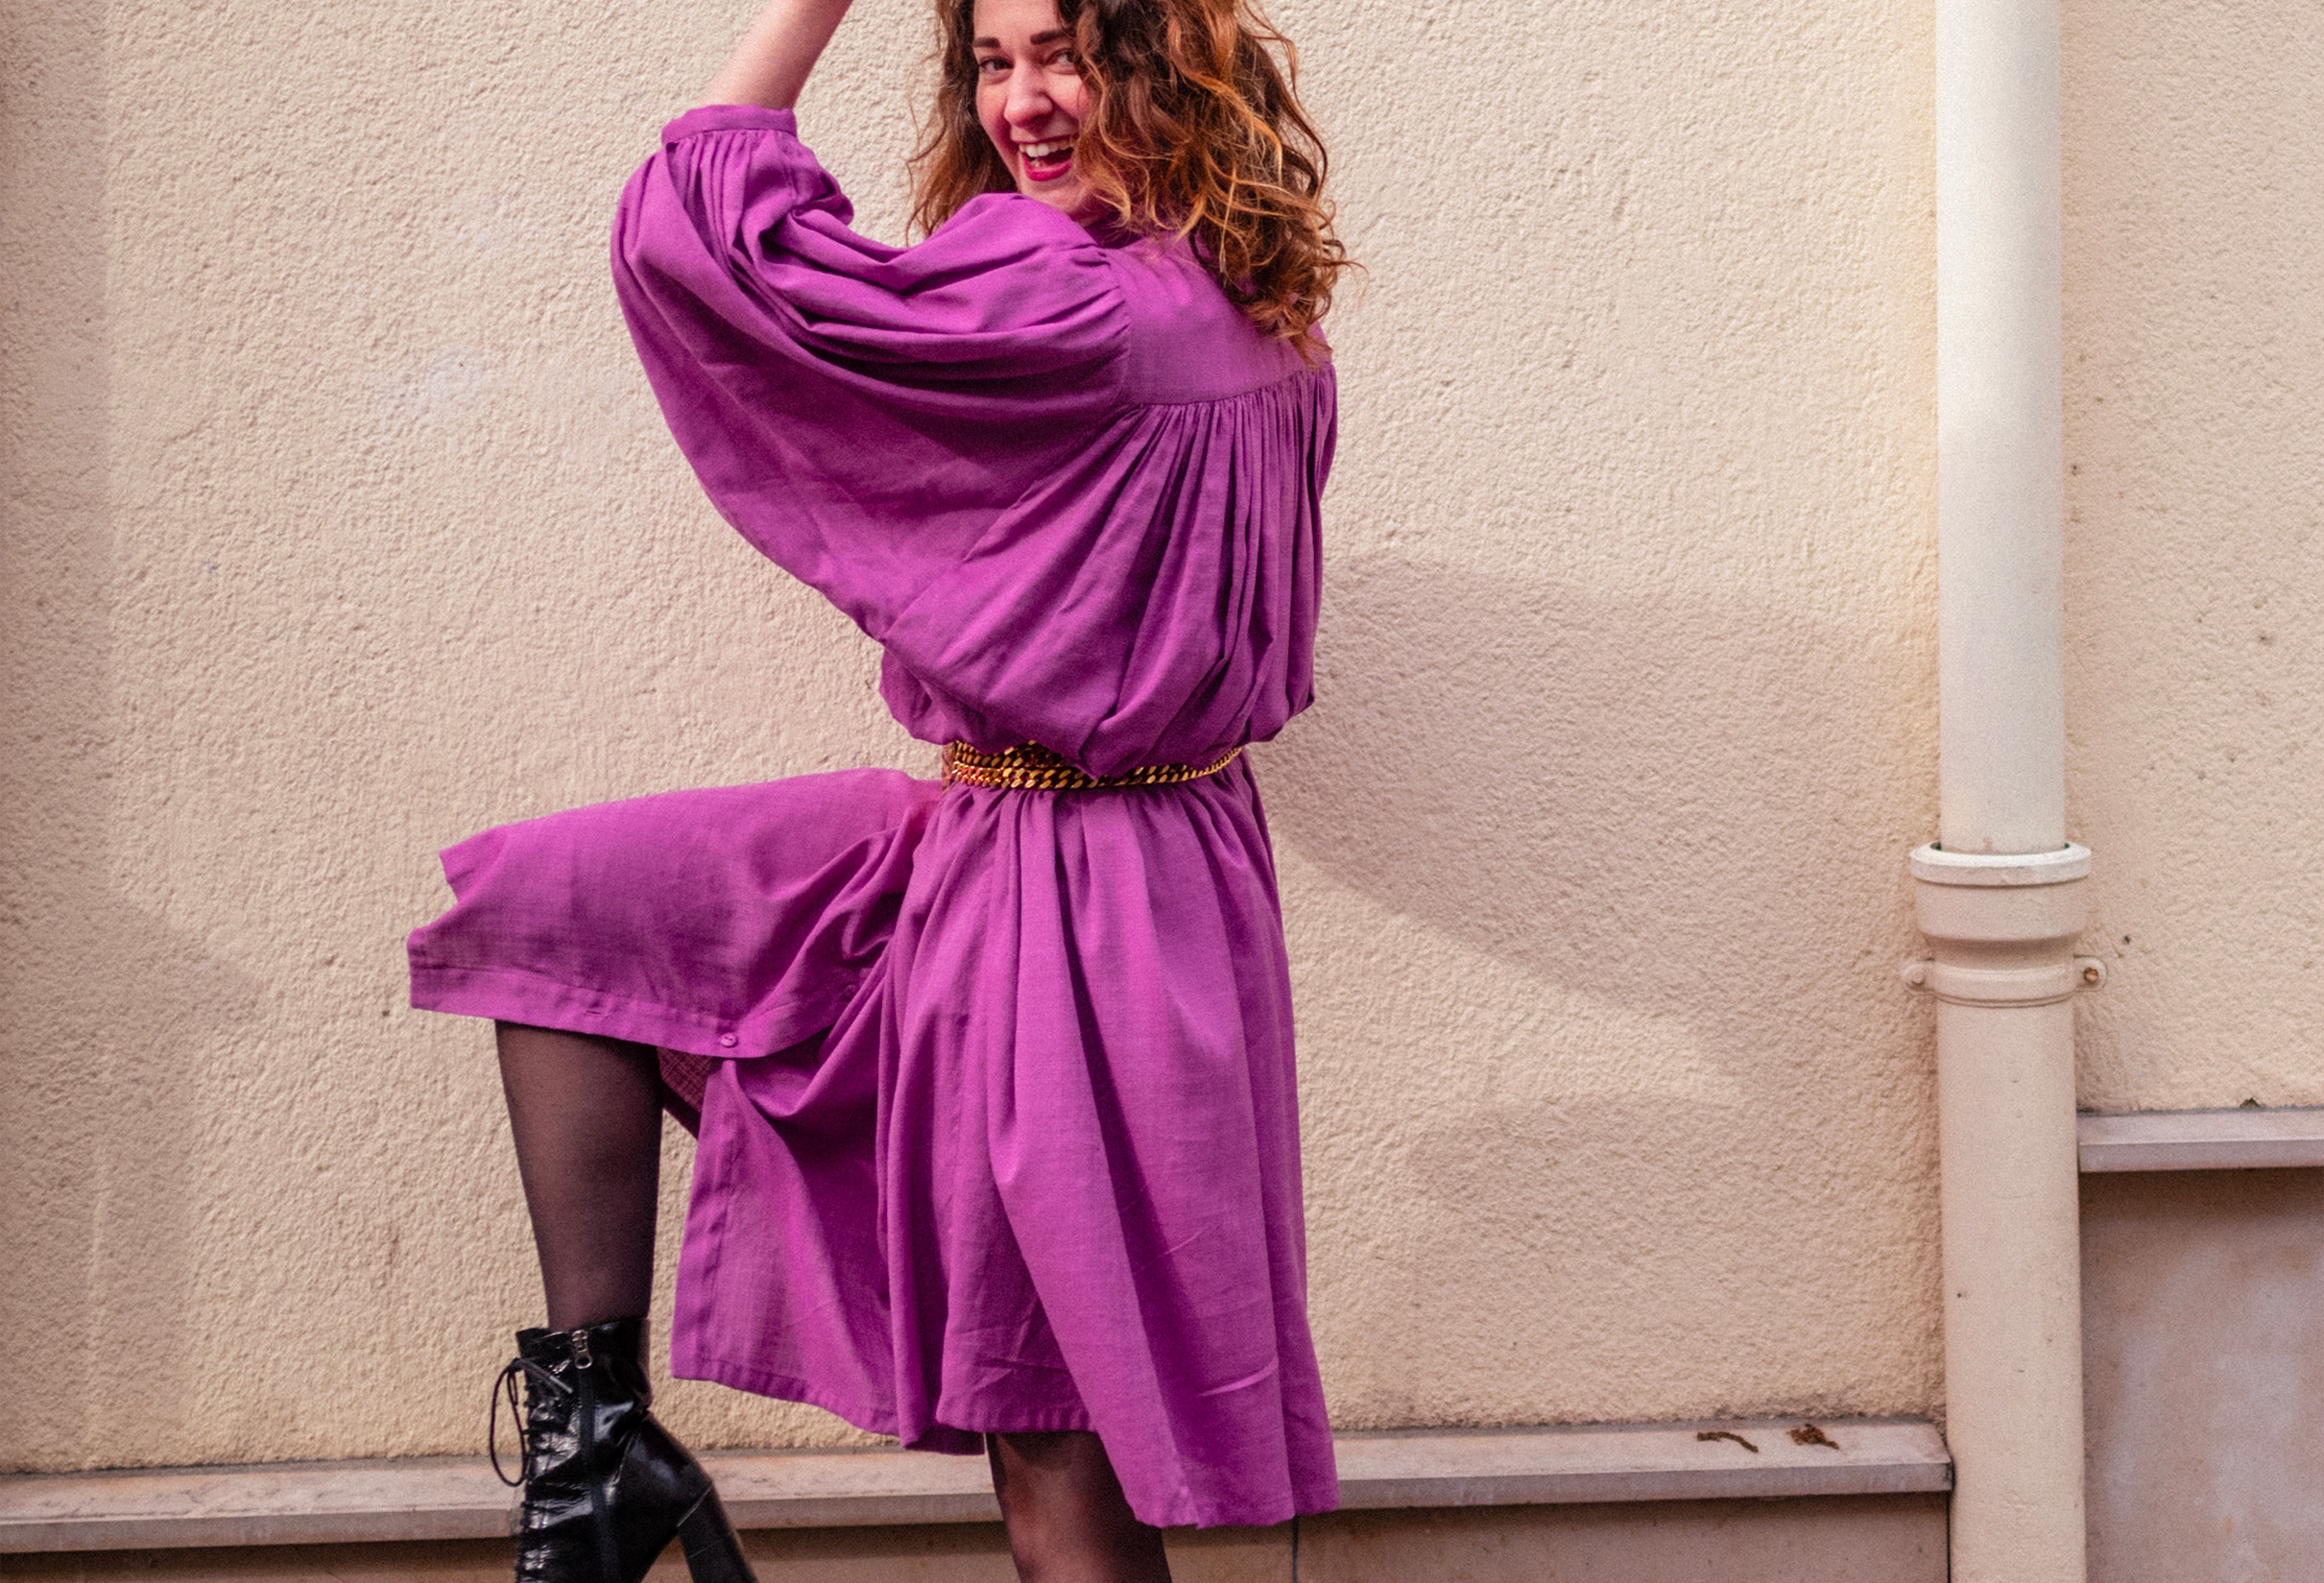
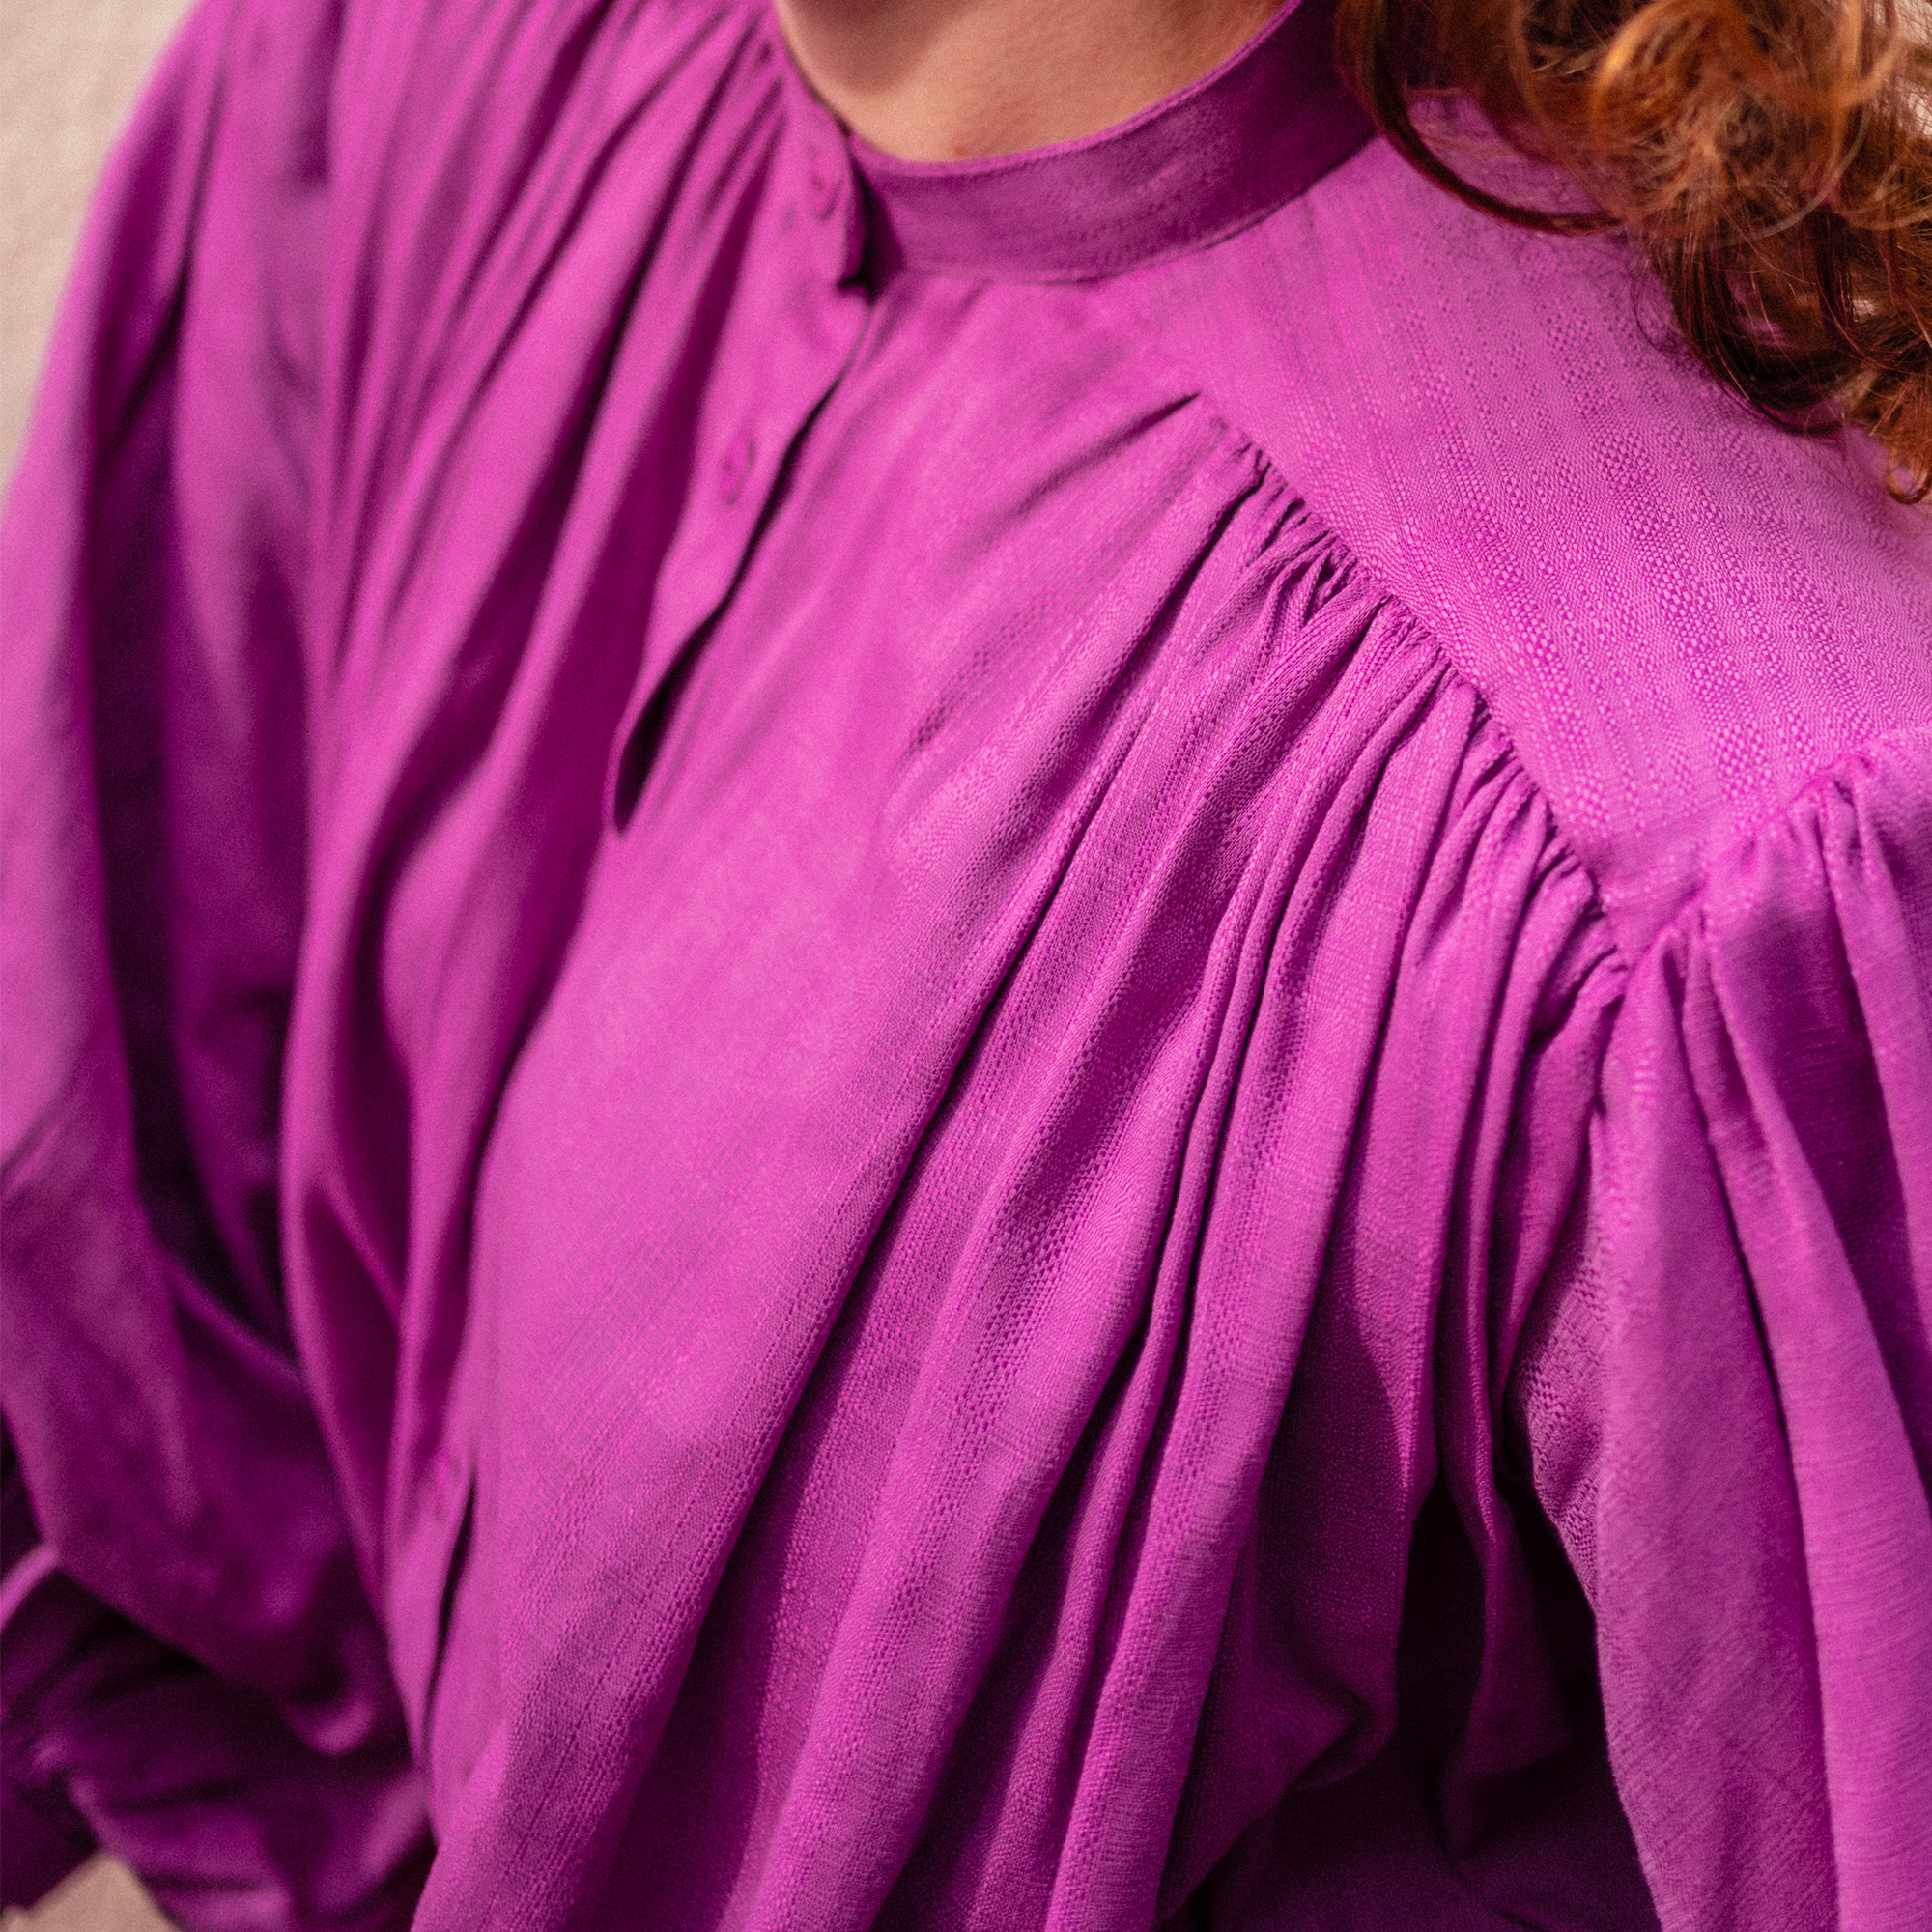
A warm welcome to Marie from @FilEnScene! She’s now on the stage of our Sewing Pattern Collections and ready to reinvent one of our patterns.. Slip on your sunglasses, the Hack by Marie is dazzling!
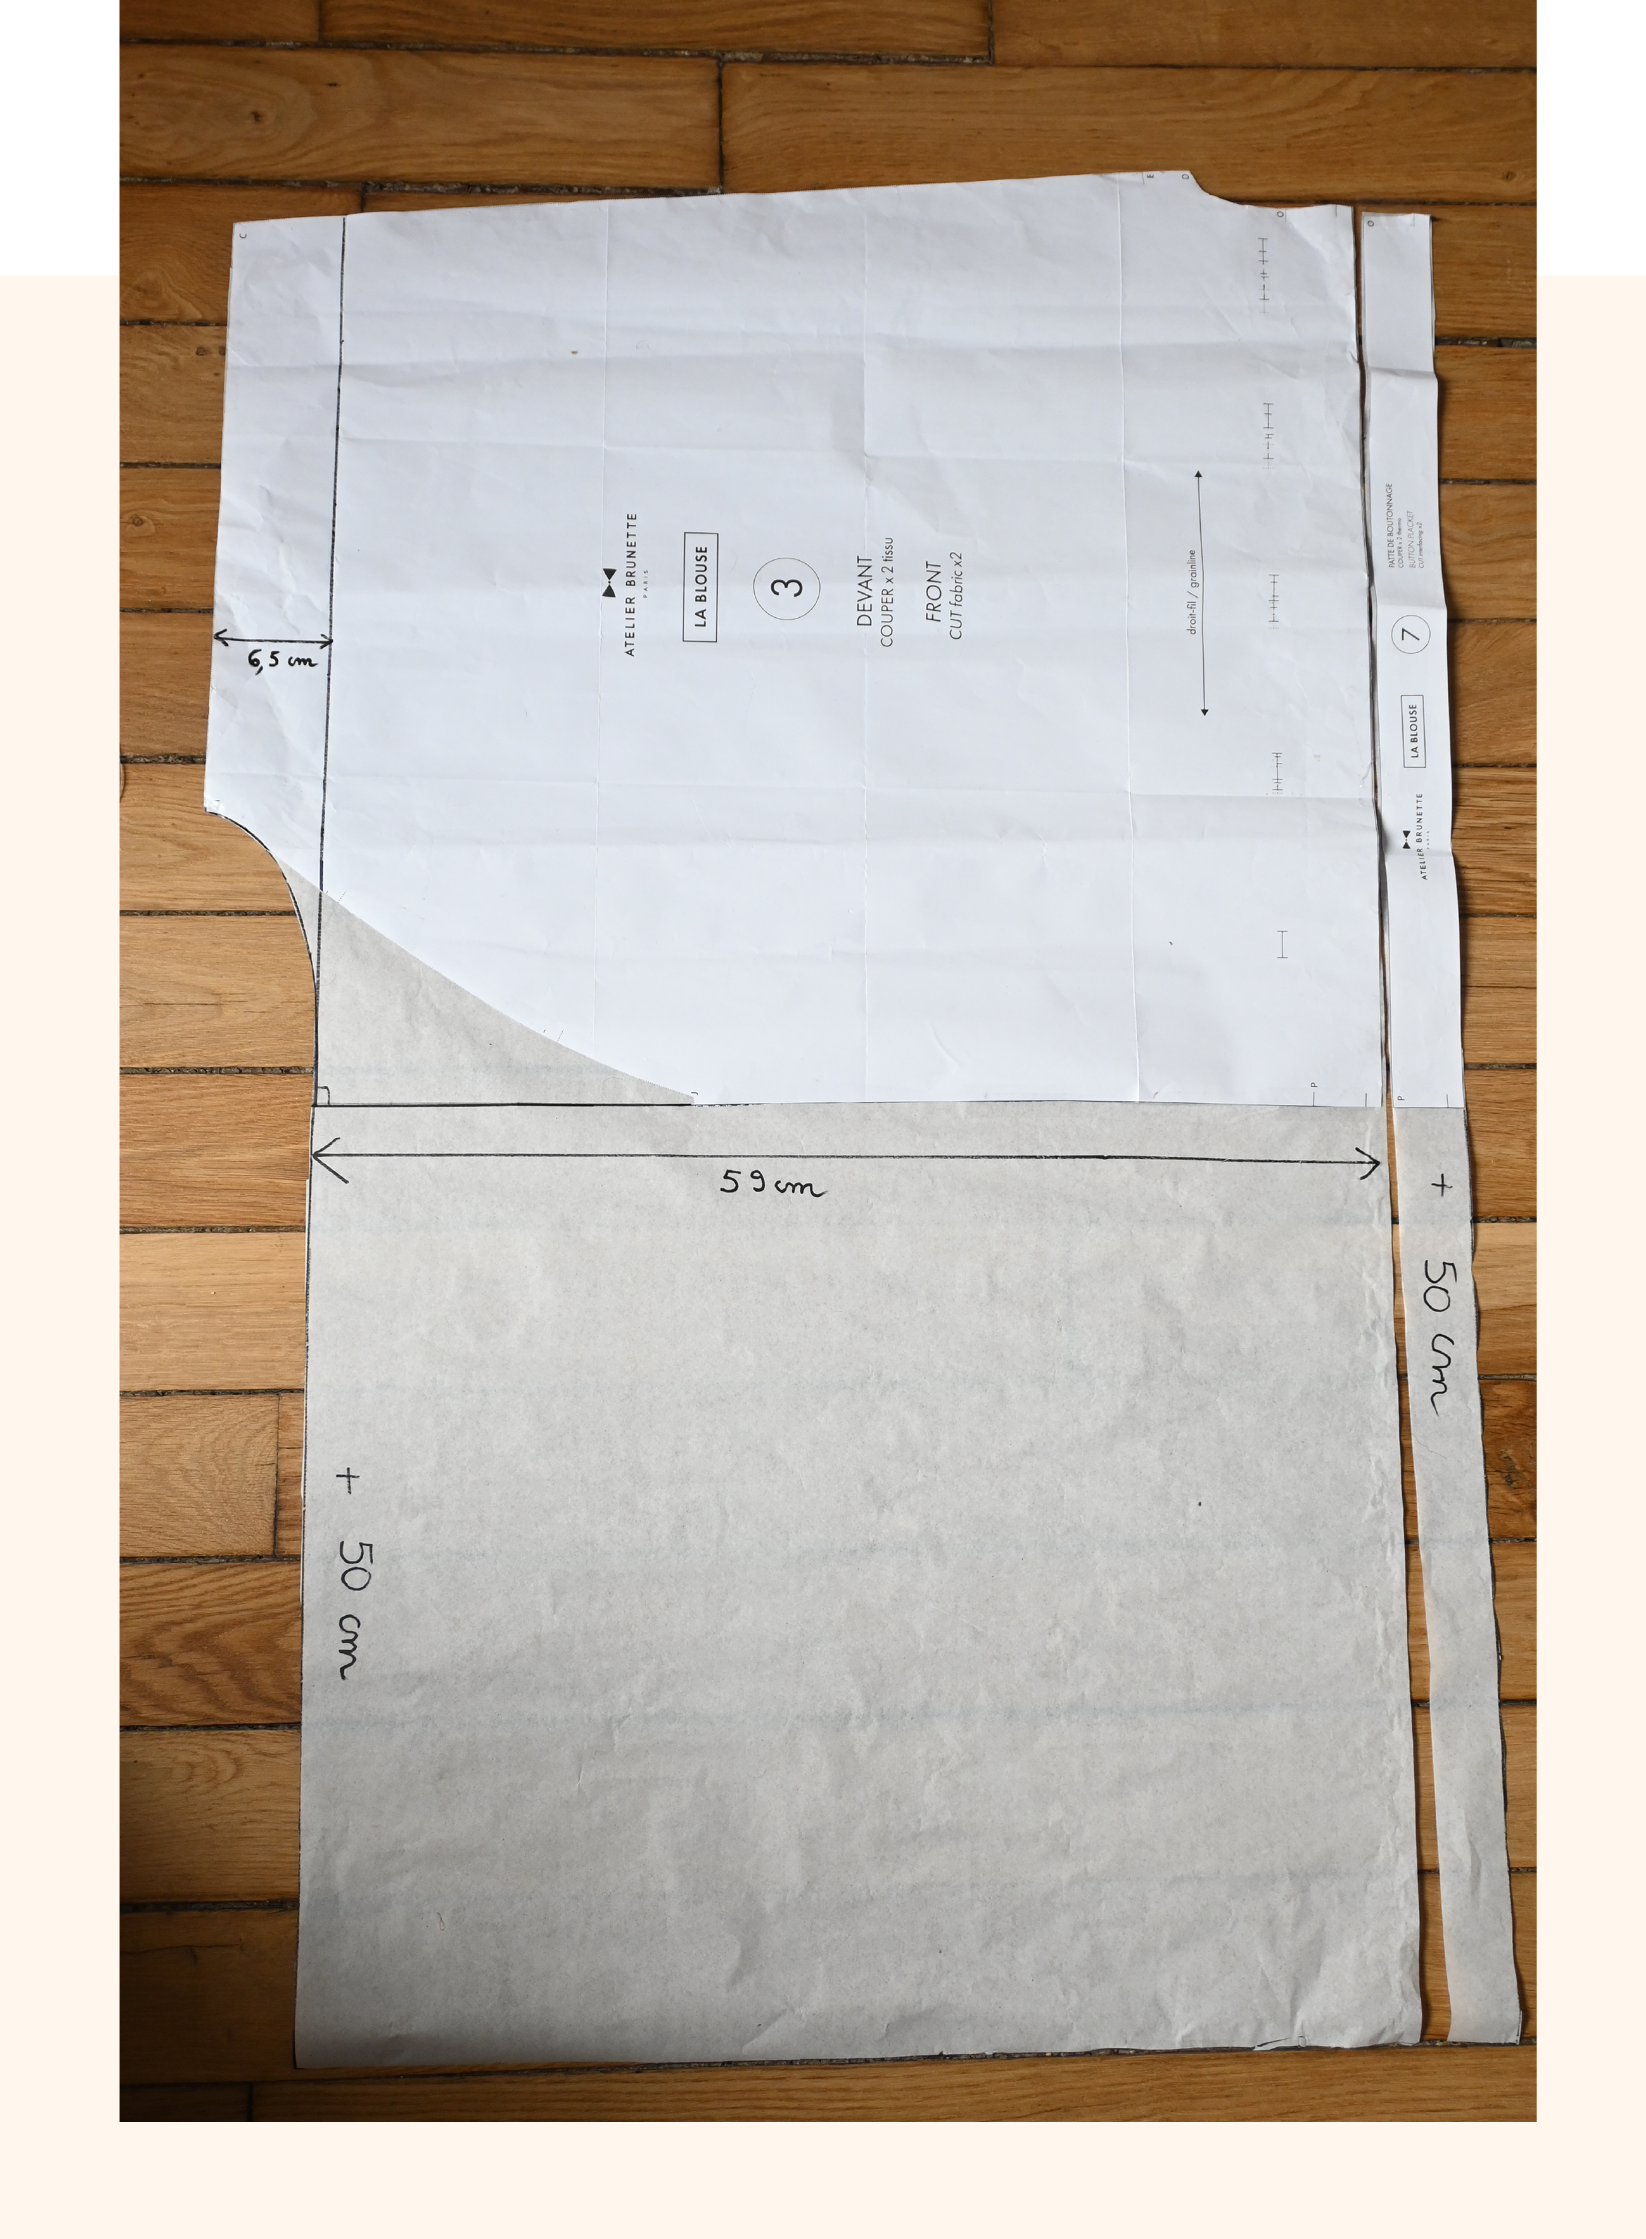
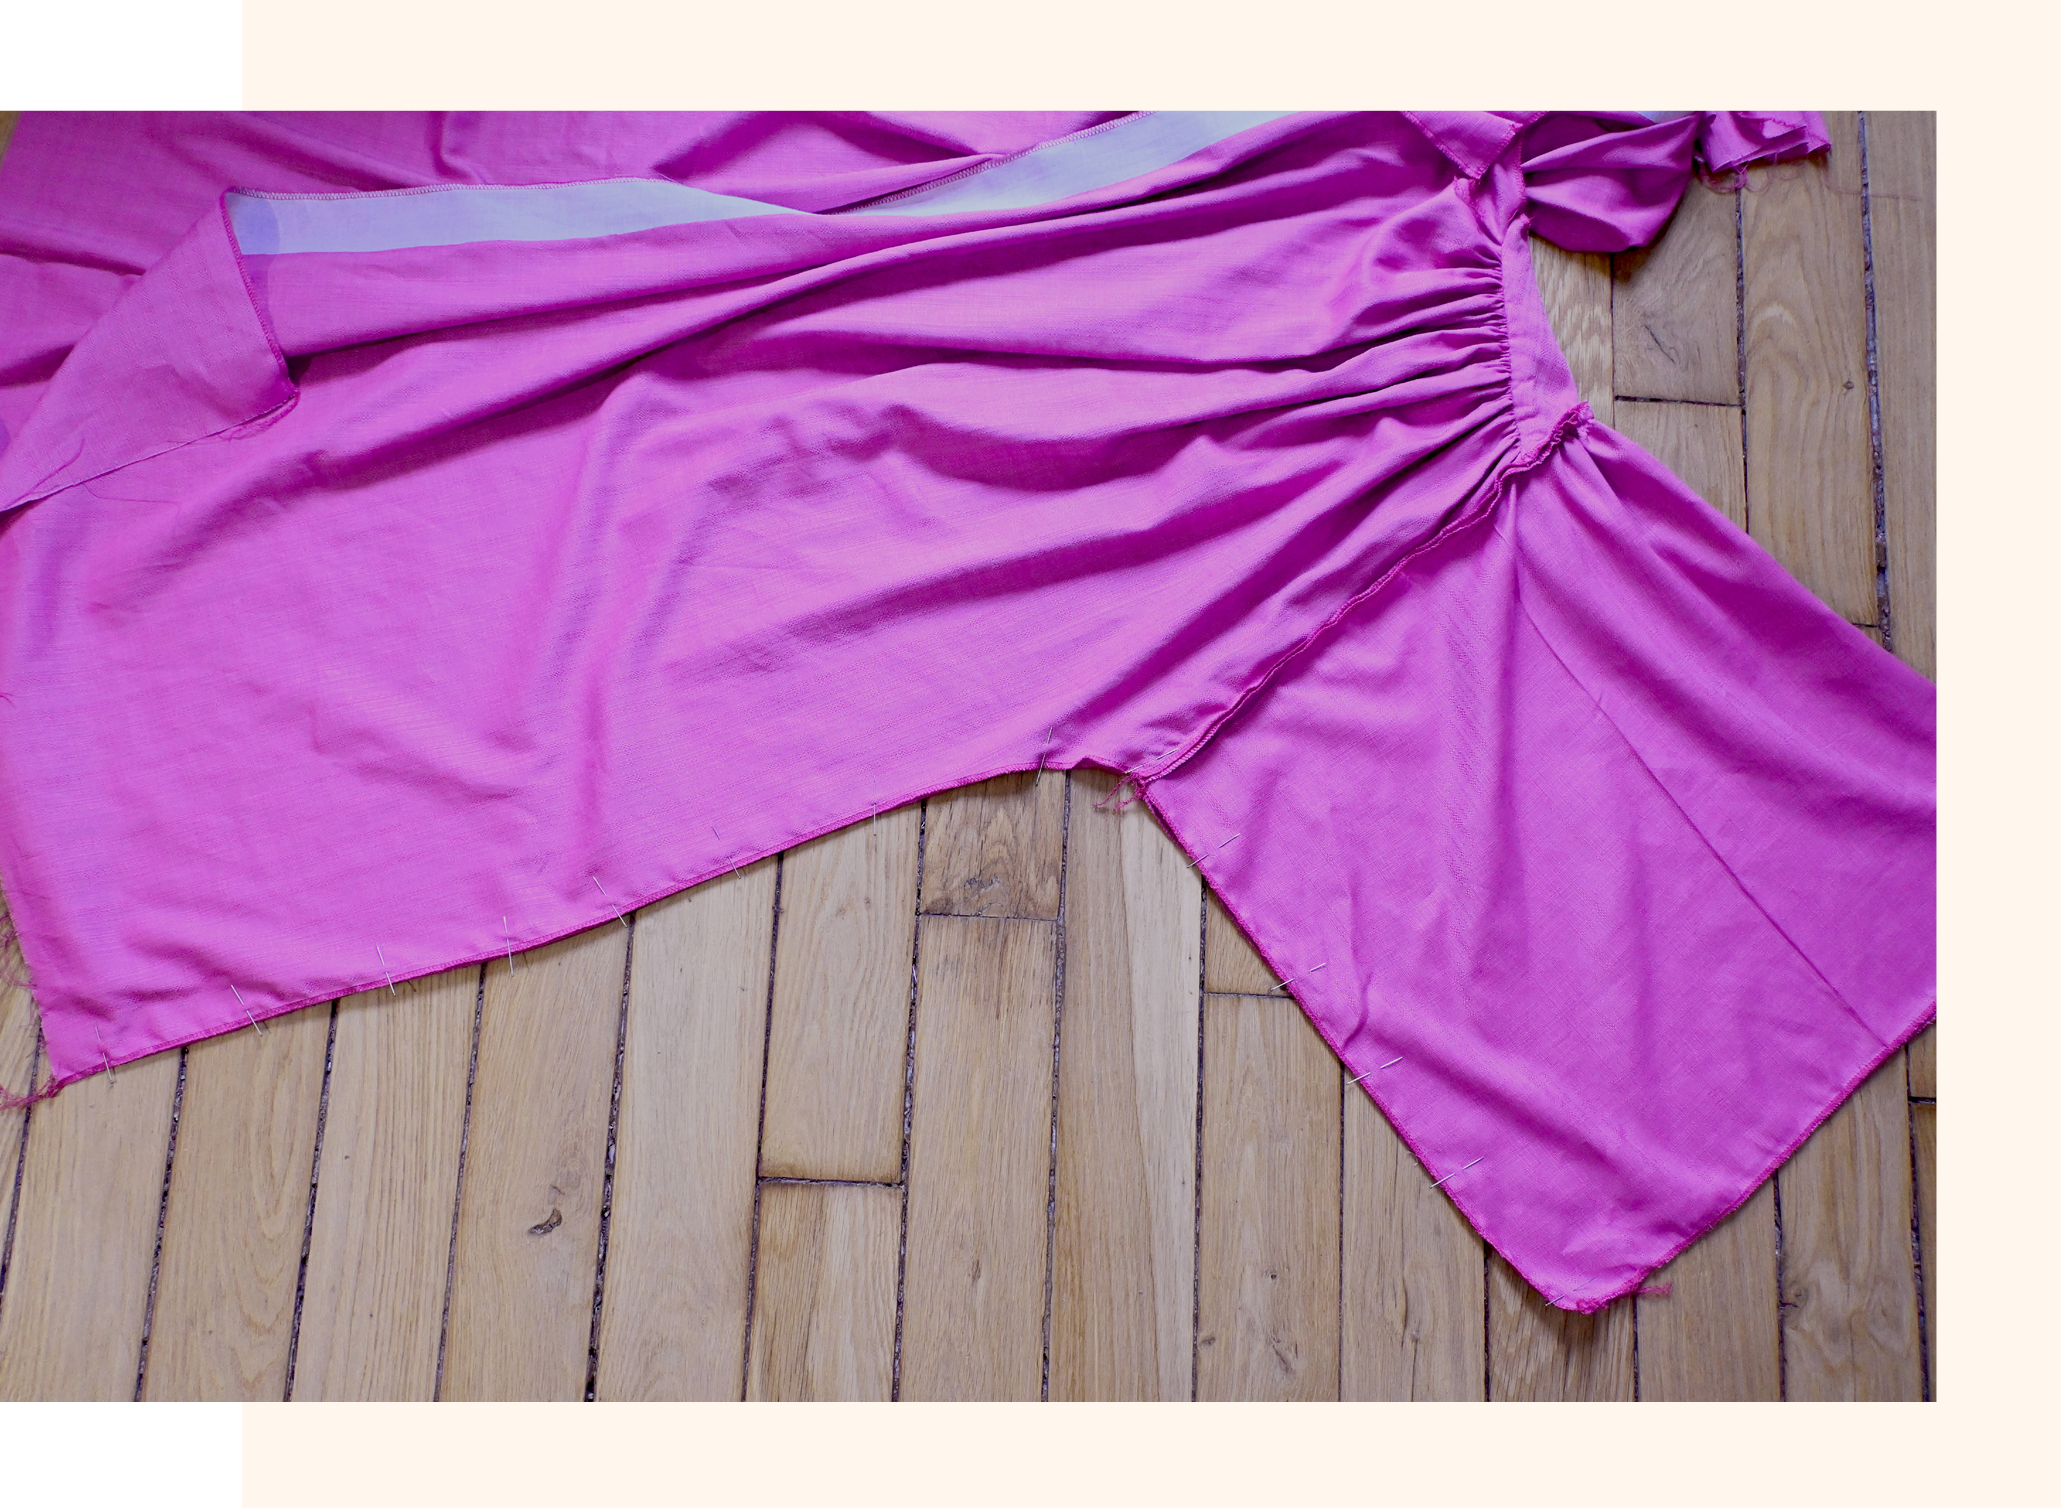
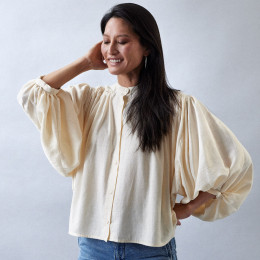
Discover the transformation of LA Blouse into a beautiful flowing dress!
Follow us and we will tell you everything!
GUEST OF THE MONTH
Marie from the Instagram account @FilEnScene, displays creativity and energy with her sparkling and captivating personality. She is at the helm of this project that we have entrusted her with (with her eyes closed). This hack will make you want to dance without ever stopping! Marie delivers her secrets for hacking LA Blouse into a Stunning Dress!
THE HACK TO SEW ALL YEAR ROUND
Our partner in crime
WHAT MAKES LA BLOUSE SO CHARMING?
From XS to XL
A strong character that plays with gathers and volume with a romantic, yet modern style.
Marie measured 1,66 m and sewed this Hack in size XS in our FLAKE BUBBLE GUM fabric
Wear it…
With a belt for a retro chic and romantic style.
Loose without a belt with a pair of sneakers for an urban effect.
With a fanny pack or a hand bag and a cap. Have fun!
Super loose with sandals or bare feet (I can't wait for summer) for a safari effect. Try it with a turban!
HER FAVORITE FABRIC
Flake Bubble Gum
A clever blend of cotton and viscose which gives it an airy and luminous appearance and draws an interweaving of materials which creates this textured effect that reflects the light.
It is superb! Be careful, the fabric frays quickly!
The pieces must be overlocked beforehand, especially for LA Blouse pattern which requires gathering over long lengths.
LE PAS-À-PAS
Difficulty level: Beginners accepted.
This Hack is very accessible because you just need to join two points with a parrot ruler to create a new curve.
Extend it to your desired length.
To sew this variation, we will slightly modify pieces 1, 3 and 7.
Sew the pieces exactly like when assembling LA Blouse by modifying the assembly steps of step 1, 5 and 7.
Changing the pattern
Small transformation of the pieces 1, 3 & 7
/ 1 /
TRANSFORM THE FRONT PIECE
Cut out piece 1 in the selected size.
Attach this pattern piece to pattern paper.
Using a large ruler, extend the horizontal line at the bottom of the blouse and the vertical line at the bottom of the sleeve.
The point of intersection forms a right angle. TIP: using an erasable marker/pen, mark the starting and ending point of the curve on the ruler. This will recreate the same curve for the back piece.
Draw a long parallel line 6.5 cm back from the vertical line of the bottom of the sleeve.
This line will cross the horizontal line at the bottom of the blouse. Mark the point of intersection.
Place the curve of a parrot ruler so that the bottom angle of the bottom of the sleeve meets this intersection point.
Extend the vertical line by 50 cm or 70 cm (depending on the length of the desired version) beyond the curve,
making sure to stay straight and parallel to the vertical line of the bottom of the sleeve.
/ 2 /
THE BACK
Proceed in exactly the same way as for the front.
The reference marks left on the parrot ruler allow you to create the same curve.
/ 3 /
REINFORCEMENT OF THE BUTTON PLACKET
Proceed in exactly the same way as for the back.
Extend the reinforcement by 50 cm or 70 cm (depending on the desired model) beyond the curve.
Sewing
Small adaptation for steps 1,5 and 7
/ 1 /
PREPARATION
Cut the interfacing from the extended button reinforcement to the desired length.
/ 5 /
SIDES
Overlock stitch the sides, ignoring the K and J marks.
It was previously recommended to overcast them immediately after cutting if you choose the Flake Bubble Gum fabric.
Right sides together, position the sides matching the sleeve seams.
Press the seams with an iron.
/ 7 /
HEM AND BUTTON PLACKET
Prepare the hem: along the entire bottom of the two assembled fronts and back, first iron a 1 cm fold, wrong side against wrong side. Then make a 1.5 cm fold and iron again. Pin the hem, stopping about 5 cm before the center front.
The button placket: on each front, iron a 1 cm fold, wrong side against wrong side. Then fold over 3 cm and iron again from the O mark to the bottom of the fronts. Position the bottom of the button placket right sides together on each front, stitch the bottom 2 cm from the edge. Turn the button plackets to the wrong side of the fronts and iron them. Pin the button plackets along the entire length and stitch them 2 mm from the folded edge.
Finish the hems: stitch the previously prepared hems 2 mm from the folded edge.
WELL DONE! This is a unique dress with crazy volume and powerful character! Now the question is not when I wear it, but how!
With or without a belt today? Looking forward to seeing your versions ☺ Marie
Photo credit for Marie's pictures wearing LA Blouse transformed into an oversized dress: claireruiz.photographie
PRACTICE HACKING WITH OUR LA JUPE PATTERN
GIFT
The Atelier Brunette pattern for the knotted belt to sew on LA Jupe skirt can be downloaded for free on our blog.
Dress up your Skirt this summer with this step by step hack written especially for you by Charlène last June.
Our new boxes have just arrived and are ready to be used for your orders! They were designed as beautiful objects that we hope you will enjoy when receiving your future orders.
Our packaging is made to prolong the Atelier Brunette experience in which Annabelle aims to continuously surprise you....
It's here! You've been asking for it, Le Précis for Sewing LE Sac Banane is online. Our tutorial will guide you step by step through the making of your favourite pattern to (re)sew without moderation.